Behavior是Android Design包中出现的一个概念,Android Design包中很多控件的动画效果都是使用Behavior实现的,所以想要更好的实现Material Design风格的应用就有必要弄清楚Behavior。这篇文章从简单开始,介绍如何自定义Behavior以实现快速返回的效果。
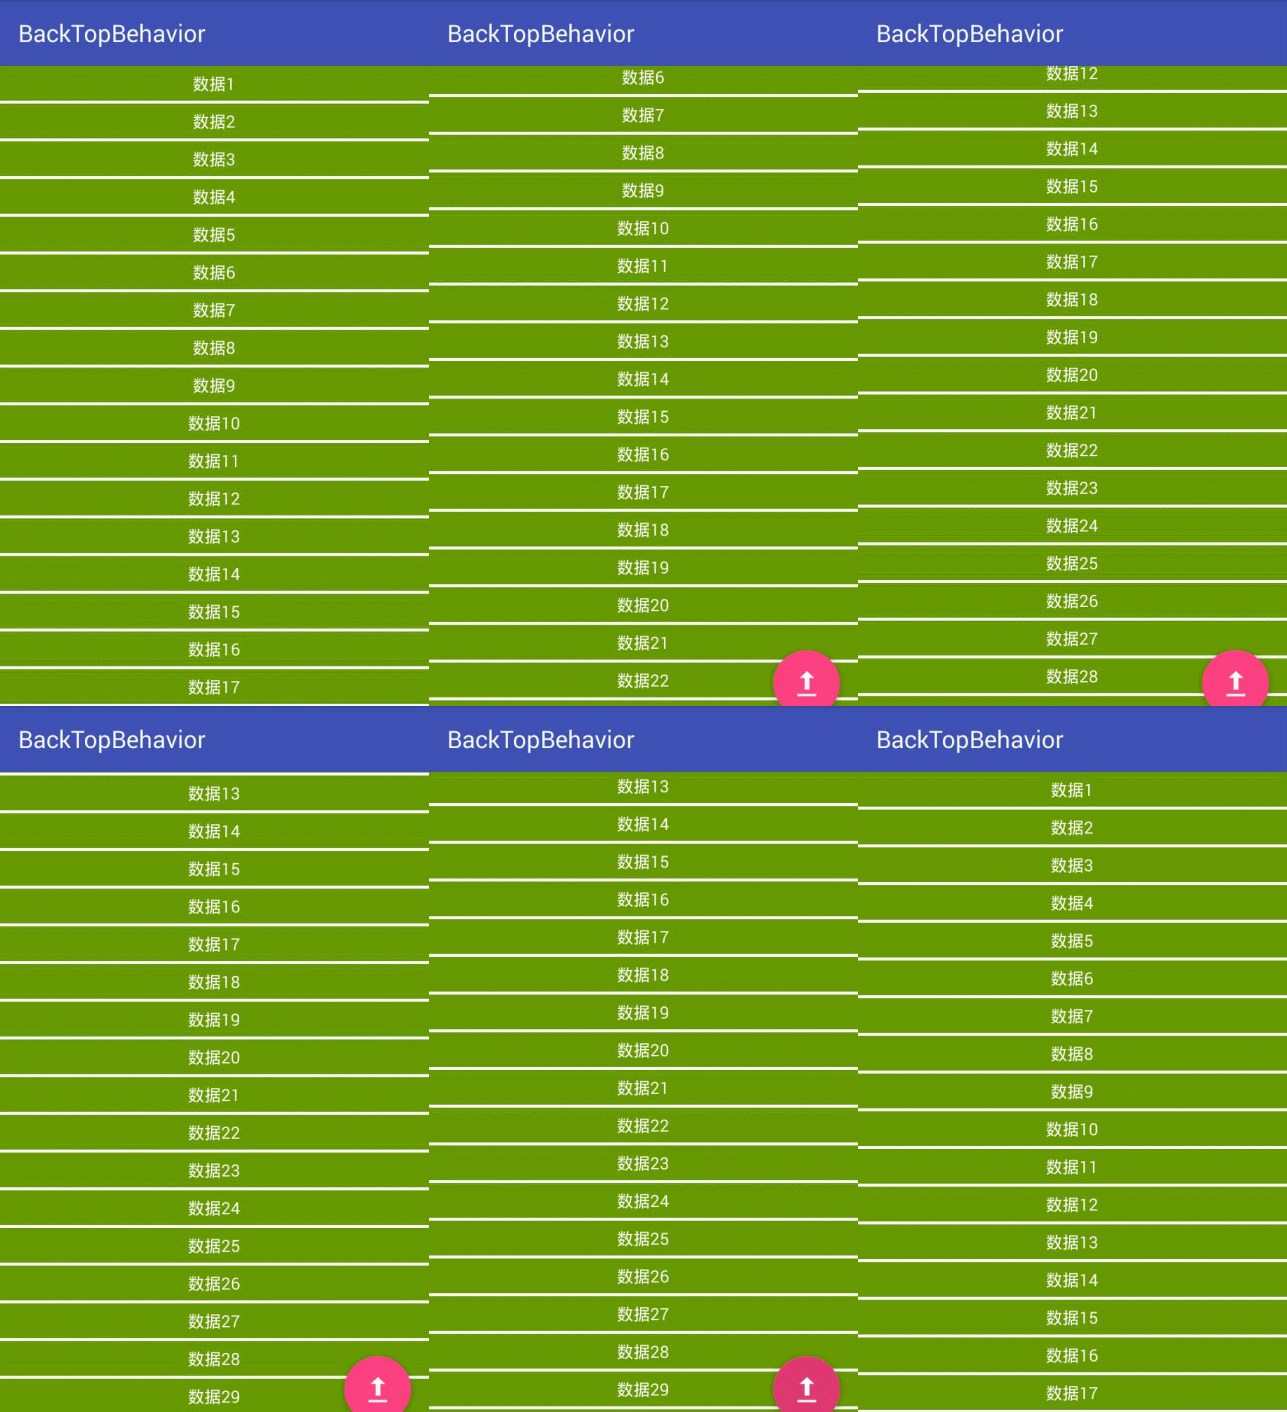
还是先看下最终实现的效果
介绍
Interaction behavior plugin for child views of CoordinatorLayout.
A Behavior implements one or more interactions that a user can take on a child view. These interactions may include drags, swipes, flings, or any other gestures.
上面的介绍说Behavior是CoordinatorLayout子视图的一个交互插件,它可以为子视图实现一个或多个交互,这些交互包括拖拽,滑动或其他的手势操作。
通过上面的介绍我们知道Behavior是作用于CoordinatorLayout子视图的,而CoordinatorLayout我们可以把它看做一个FrameLayout。
根据我的理解来说Behavior其实就是一系列手势操作行为的回调,通过这些回调来处理CoordinatorLayout子视图的手势操作。
使用
用过Android Design库中AppBarLayout与NestedScrollView这两个类的同学应该知道,这两个类一起使用会产生很漂亮的滑动效果,这也是Android库中对Behavior的一个很典型的应用。而对于Behavior的使用,也可以参考这两个类的两种使用方式:
- 为CoordinatorLayout的直接子View设置app:layout_behavior=“behavior完全类名”
- 为CoordinatorLayout的某个子View设置默认Behavior,设置方式是在该View的类声明上添加注解`@CoordinatorLayout.DefaultBehavior(Behavior类.class)`
Behavior相关方法
1 | public class BackTopBehavior extends CoordinatorLayout.Behavior { |
上面就是Behavior中比较常用比较重要的一些方法。
自定义Behavior
我要实现的是在在列表上滑时,显示快速返回按钮,列表下滑时隐藏快速返回按钮,当快速返回按钮显示时,点击该按钮,列表会自动滑动到顶部。
快速返回按钮我用的是Android Design中的FloatingActionButton,其实在FloatingActionButton中设置了默认的Behavior,但是这个默认的Behavior是与SnackBar结合使用的,因此我可以直接继承FloatingActionButton.Behavior复写其中的相关方法实现我们所要的效果,这样可以减少很多工作
1 | public class BackTopBehavior extends FloatingActionButton.Behavior { |
这样实现起来是不是感觉很简单,如果不用Behavior的话,需要自己自定义View,并对滑动事件进行处理,实现起来肯定比Behavior方式要费劲。
剩下的布局和Activity代码如下:1
2
3
4
5
6
7
8
9
10
11
12
13
14
15
16
17
18
19
20
21
22
23
24
25
26
27
28
29
30
31
32
33
34
35
36public class BackTopBehaviorActivity extends AppCompatActivity {
CommonRecyclerView mRecyclerView;
LinearLayoutManager mLayoutManager;
FloatingActionButton mFloatingActionButton;
@Override
protected void onCreate(@Nullable Bundle savedInstanceState) {
super.onCreate(savedInstanceState);
setContentView(R.layout.activity_backtop_behavior);
mFloatingActionButton = (FloatingActionButton) findViewById(R.id.floatingActionButton);
mFloatingActionButton.setOnClickListener(new View.OnClickListener() {
@Override
public void onClick(View v) {
mLayoutManager.smoothScrollToPosition(mRecyclerView, null , 0);
}
});
initRecyclerView();
}
private void initRecyclerView() {
mRecyclerView = (CommonRecyclerView) findViewById(R.id.recyclerView);
mLayoutManager = new LinearLayoutManager(this);
mRecyclerView.setLayoutManager(mLayoutManager);
mRecyclerView.addItemDecoration(new SpacesItemDecoration(5));
List<String> data = new ArrayList<>();
for (int i = 0; i < 30; i ++) {
data.add("数据" + (i + 1));
}
StringListAdapter mAdapter = new StringListAdapter(this, data);
mRecyclerView.setAdapter(mAdapter);
}
}
1 | <?xml version="1.0" encoding="utf-8"?> |
Demo的完整代码戳这里
原创文章,转载请出处注明。
下面是我的个人公众号,欢迎关注交流

